
Text Annotations in Office Lens and OneDrive Apps
As an early adopter of the Office Lens app, I was excited to see the functionality expanded last year, and some of the best functionality rolled into the OneDrive app. If you’re unfamiliar with this hidden gem of a product, Office Lens takes snapshots of documents, whiteboards, business cards and similar content, and allows you to trim them, enhance them, and make them readable. The first time I used Office Lens was at a massive conference, in which I had a front row seat, far off on the side. My view of the screen was extremely skewed, but the Office Lens app adjusted the image, correcting the skew so that the content was readable. You can also use Office Lens to convert images to PDF, Word and PowerPoint files, and you can even save images to OneNote or OneDrive.
In H1 of 2019, Microsoft added some of these same capabilities to the OneDrive app. This did not replace the Office Lens app, which has some additional rich features, and can point to a number of cloud-based storage solutions. But if OneDrive is your primary destination for image scans via your phone, you can simplify your life and use just the OneDrive app. For me personally, I move different artifacts to different locations, and so Office Lens remains my default. As I tell people, Office Lens has replaced the need for my flat bed scanner.
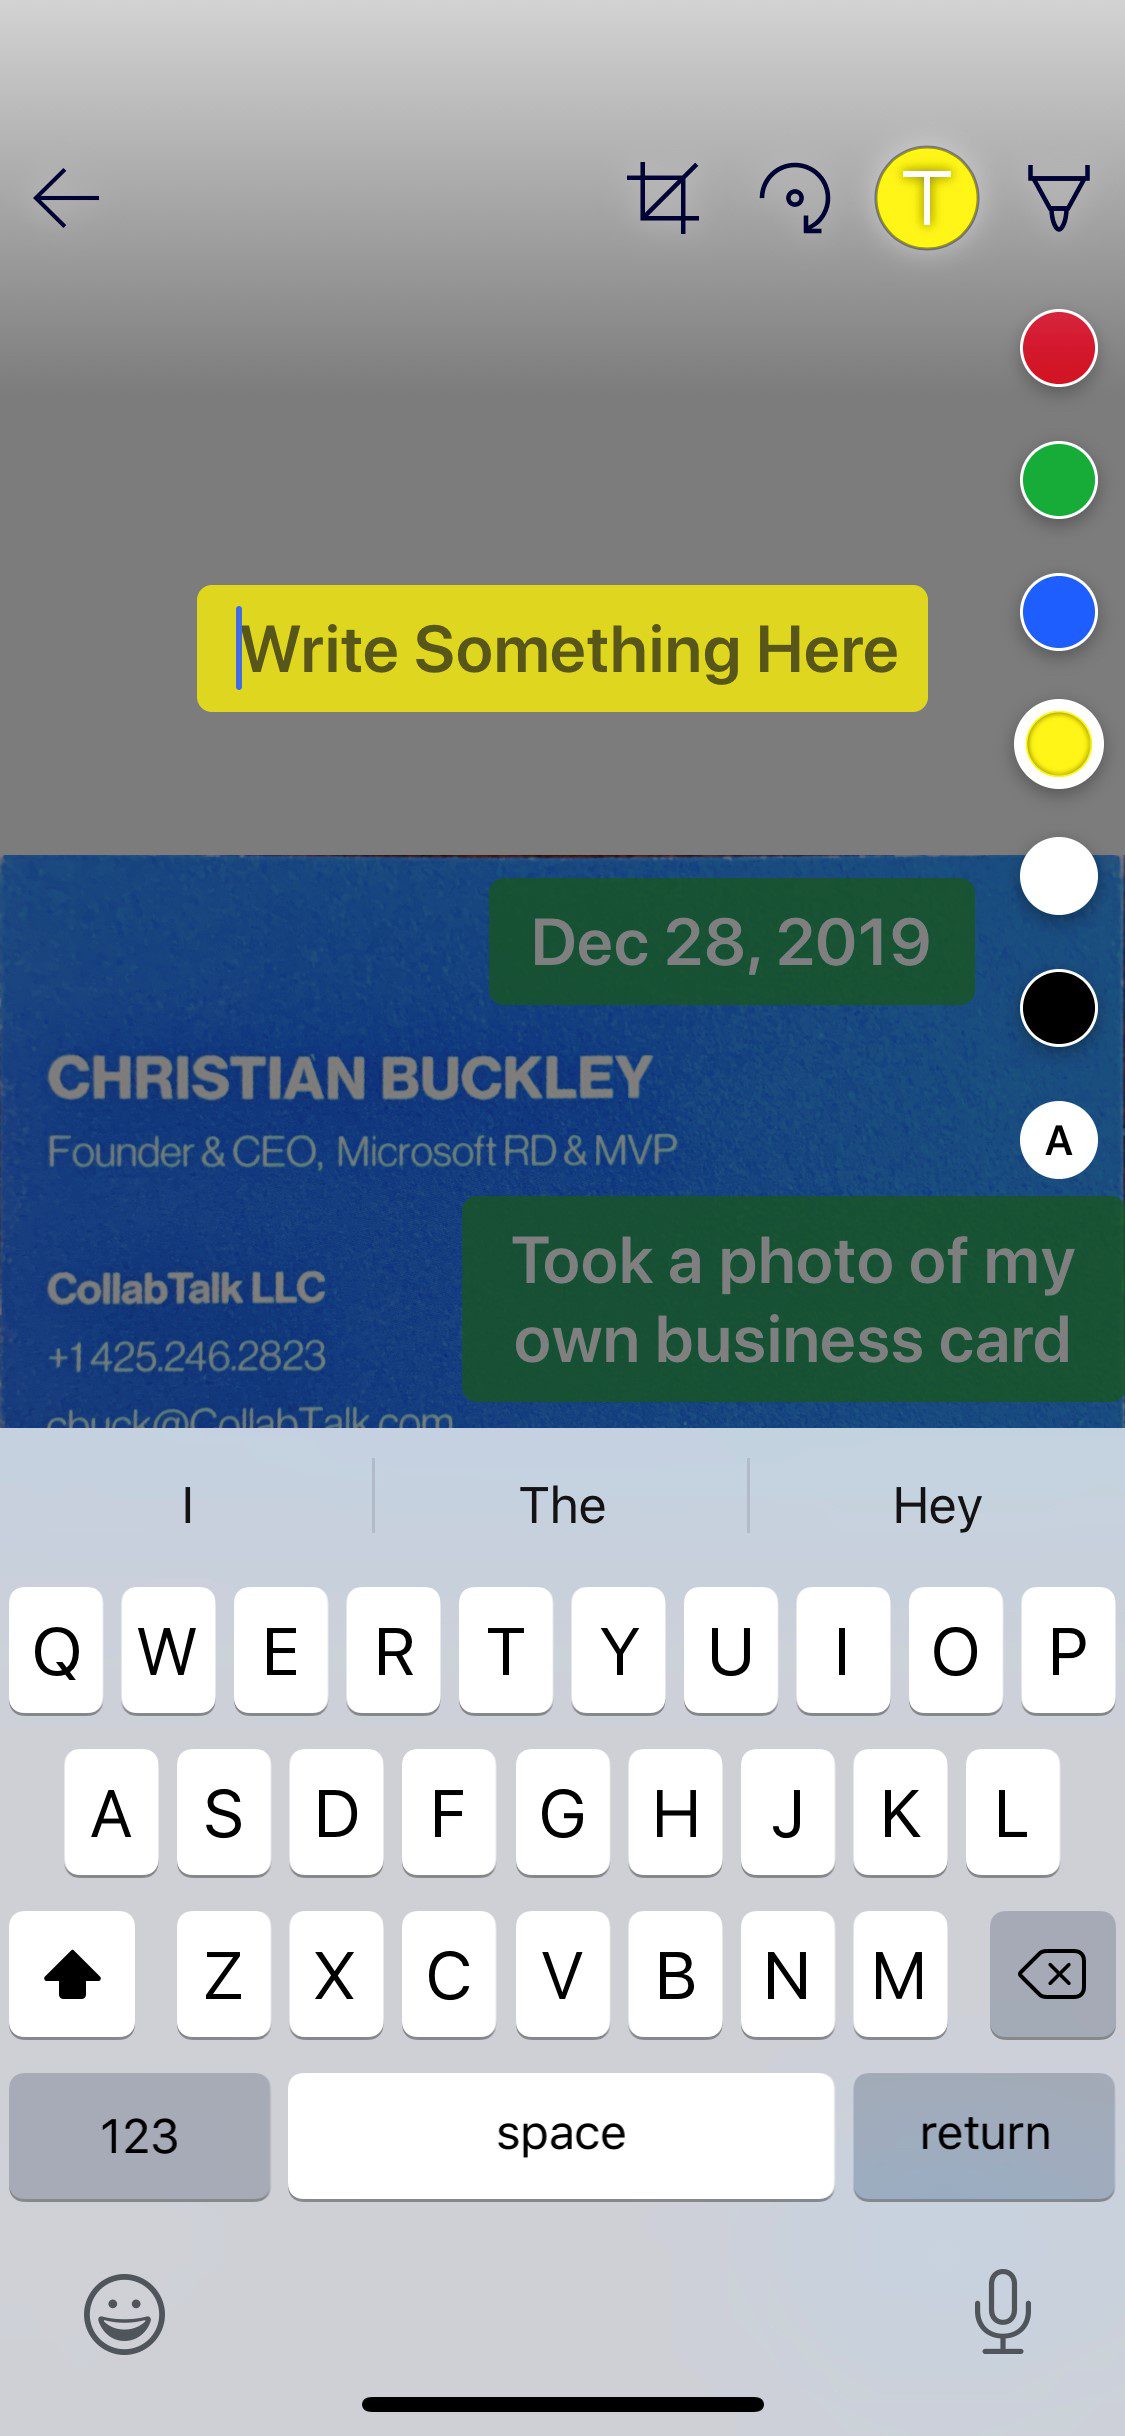
A huge productivity enhancement was adding the ability to add text annotations, which is available in both Office Lens and OneDrive apps. You can add text or caption to highlight a part of a document, or add important metadata or notes to a business card or whiteboard diagram. Your addition stays intact with the image wherever it goes, helping you to communicate ideas and context to your colleagues. Within the Office Lens app, you can also add a watermark of your name or brand before sharing, adding a quick and easy personalization to your photos to identify ownership. I first shared this productivity tip in the February 2019 Productivity Tips webinar. You can find the webinar recording here, or jump to the specific video tip here.
Capturing images
Once you’ve downloaded either app, the process is basically the same: select the format of your image (in my example, a business card), and take a picture of the document. You’ll see the image “guide rails” around your document. Be aware that on a document, the app will sometimes place these guide rails around the text but exclude part of your page. Adjust the distance of your phone camera until the guide rails surround your document.
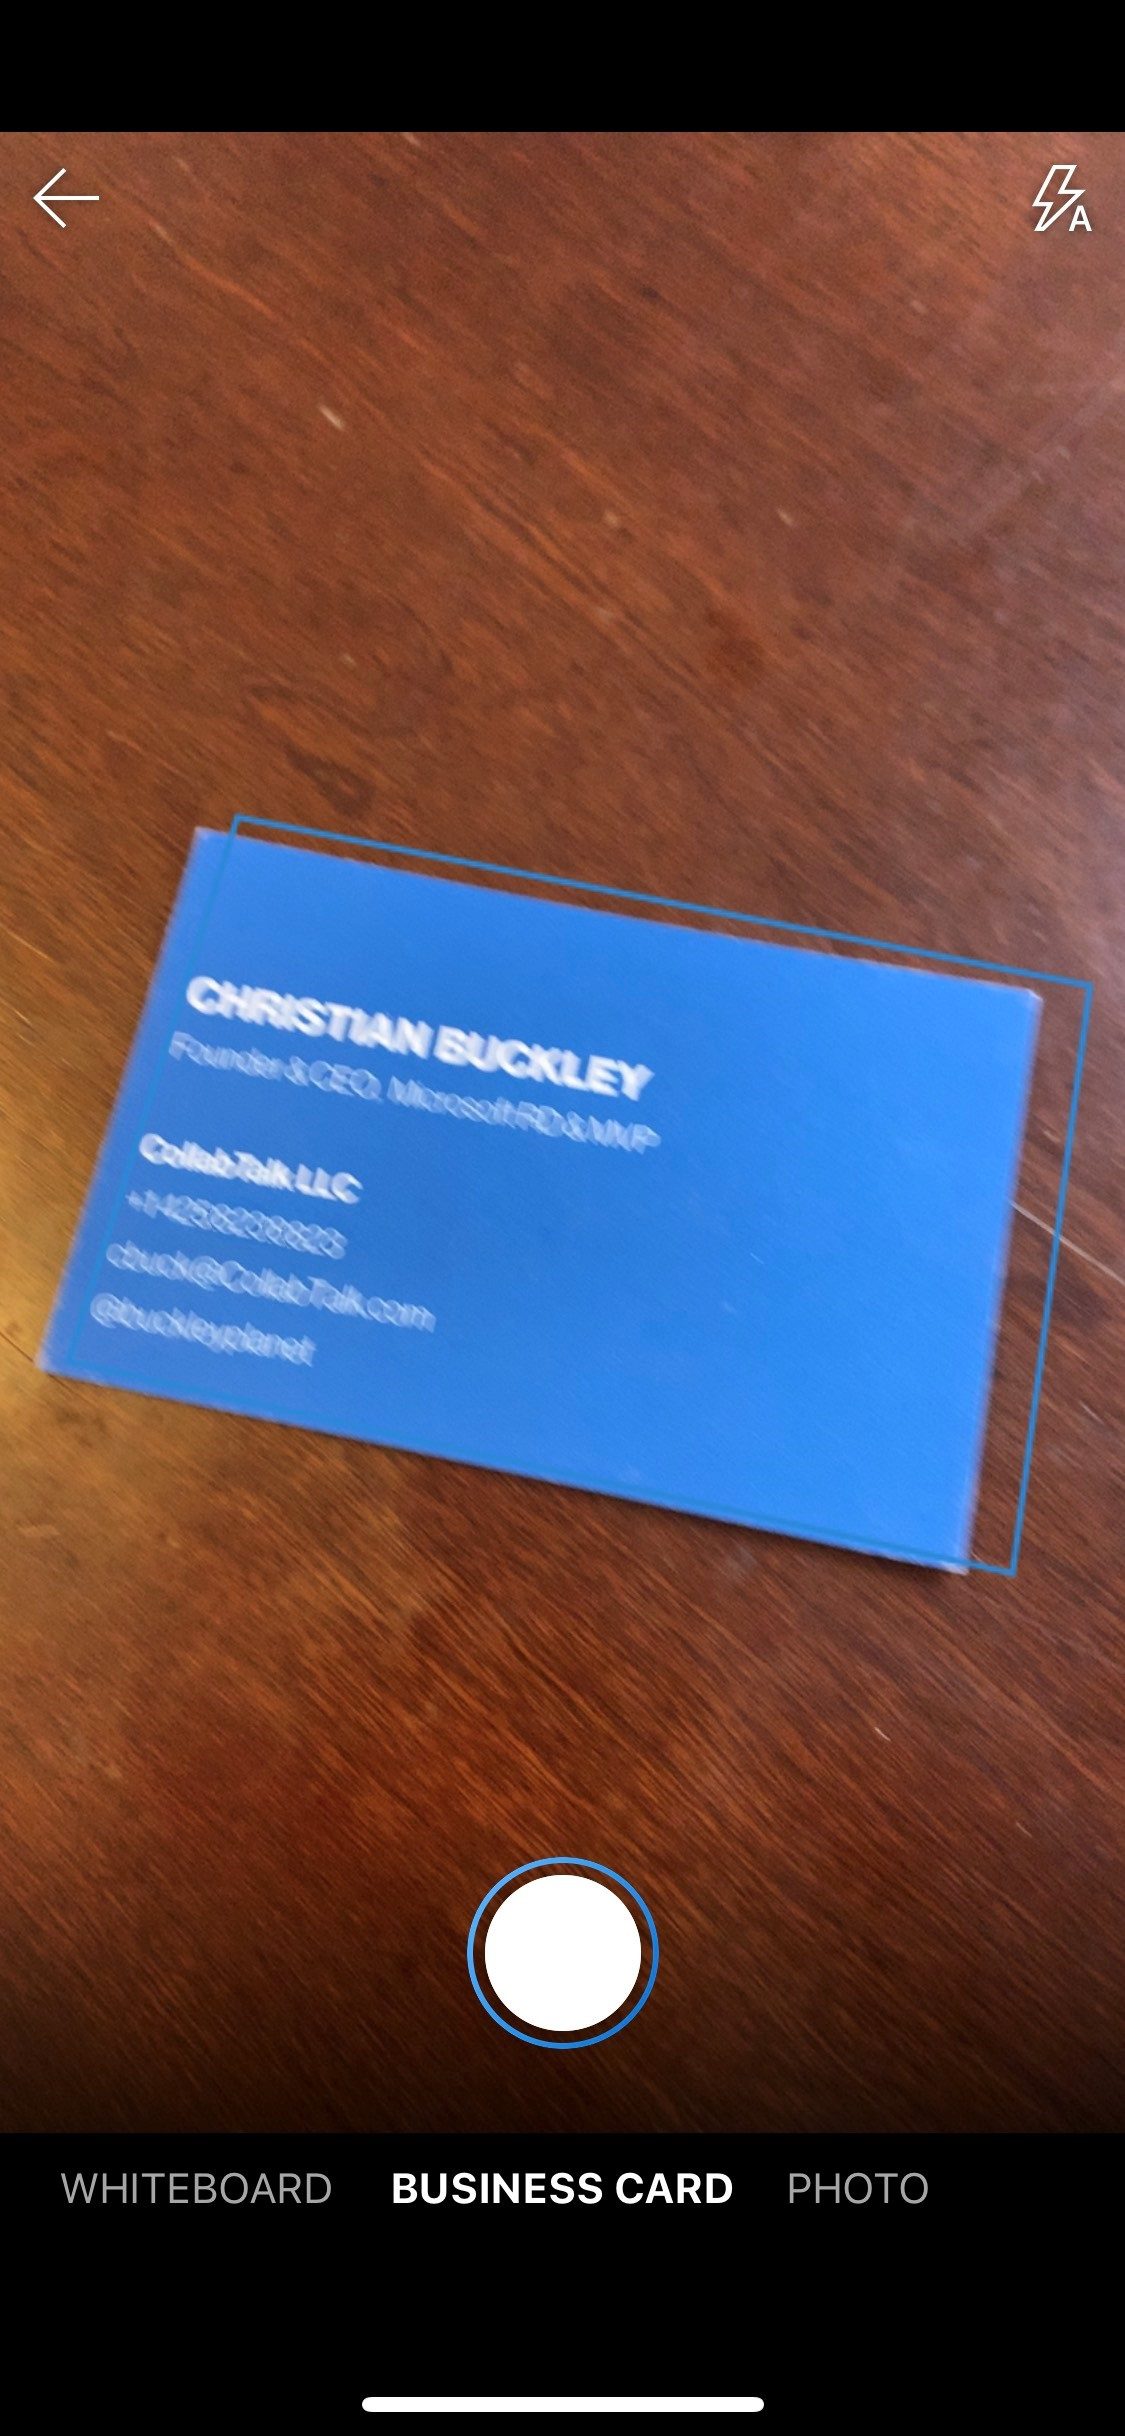
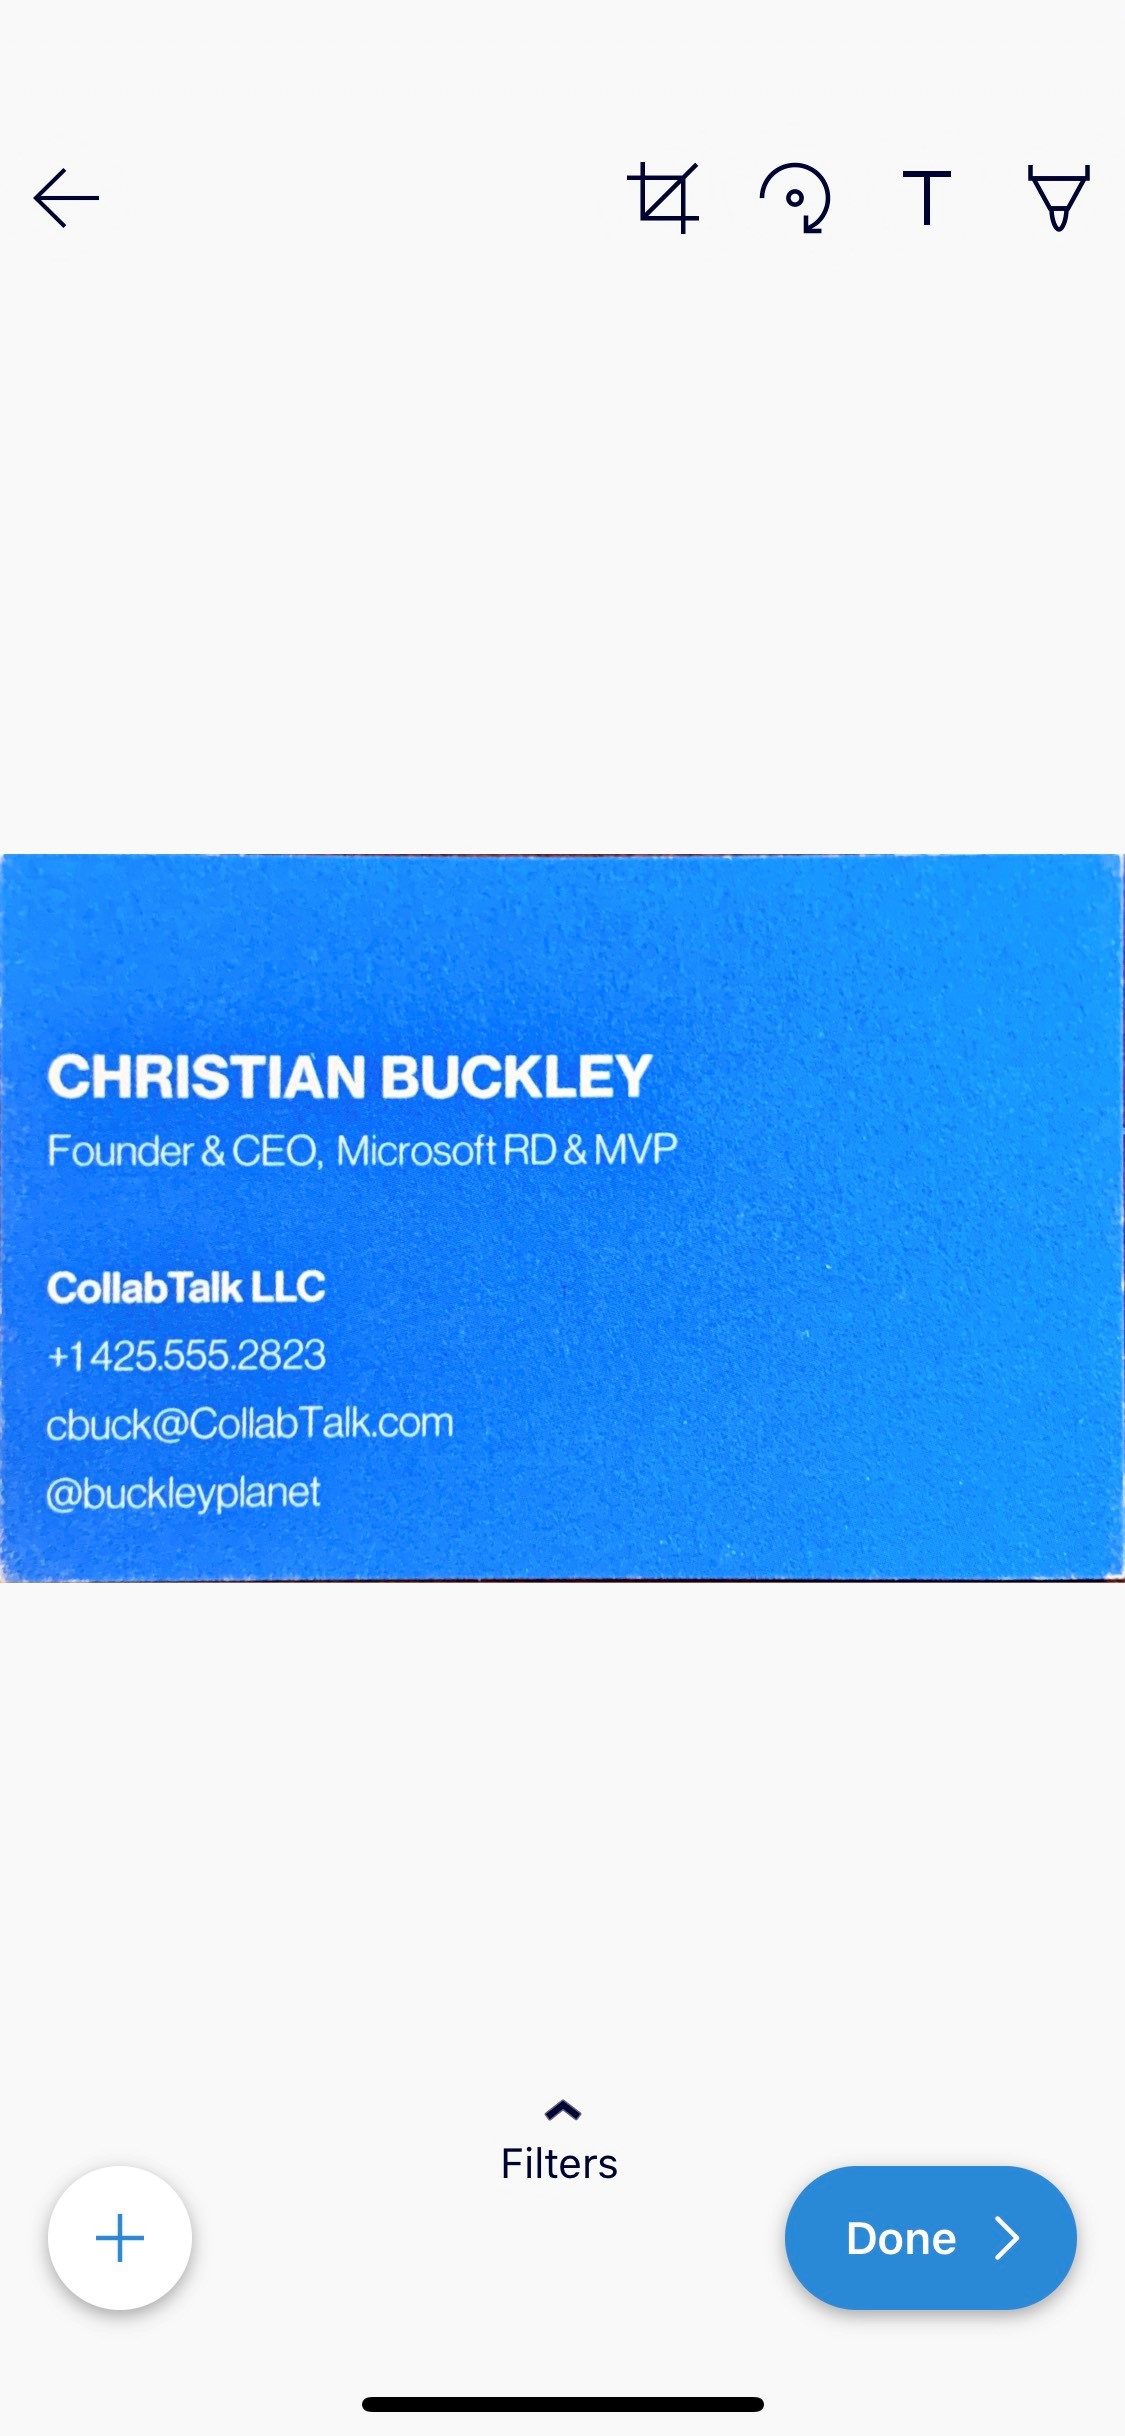
As you can see in the next image, the app takes the slightly skewed image and adjusts it to the square, making it readable and more easily annotated.
Annotating images
After taking your image, you can add notes by clicking on the ‘T’ icon at the top, adding your text annotation while on the go and in the moment. For example, you might add the event date and name, or maybe some notes that indicate how you should follow up with this individual. You can select a style/template for your image (such as changing it from color to black and white or grayscale), change text color and position, and then save your file or share it.
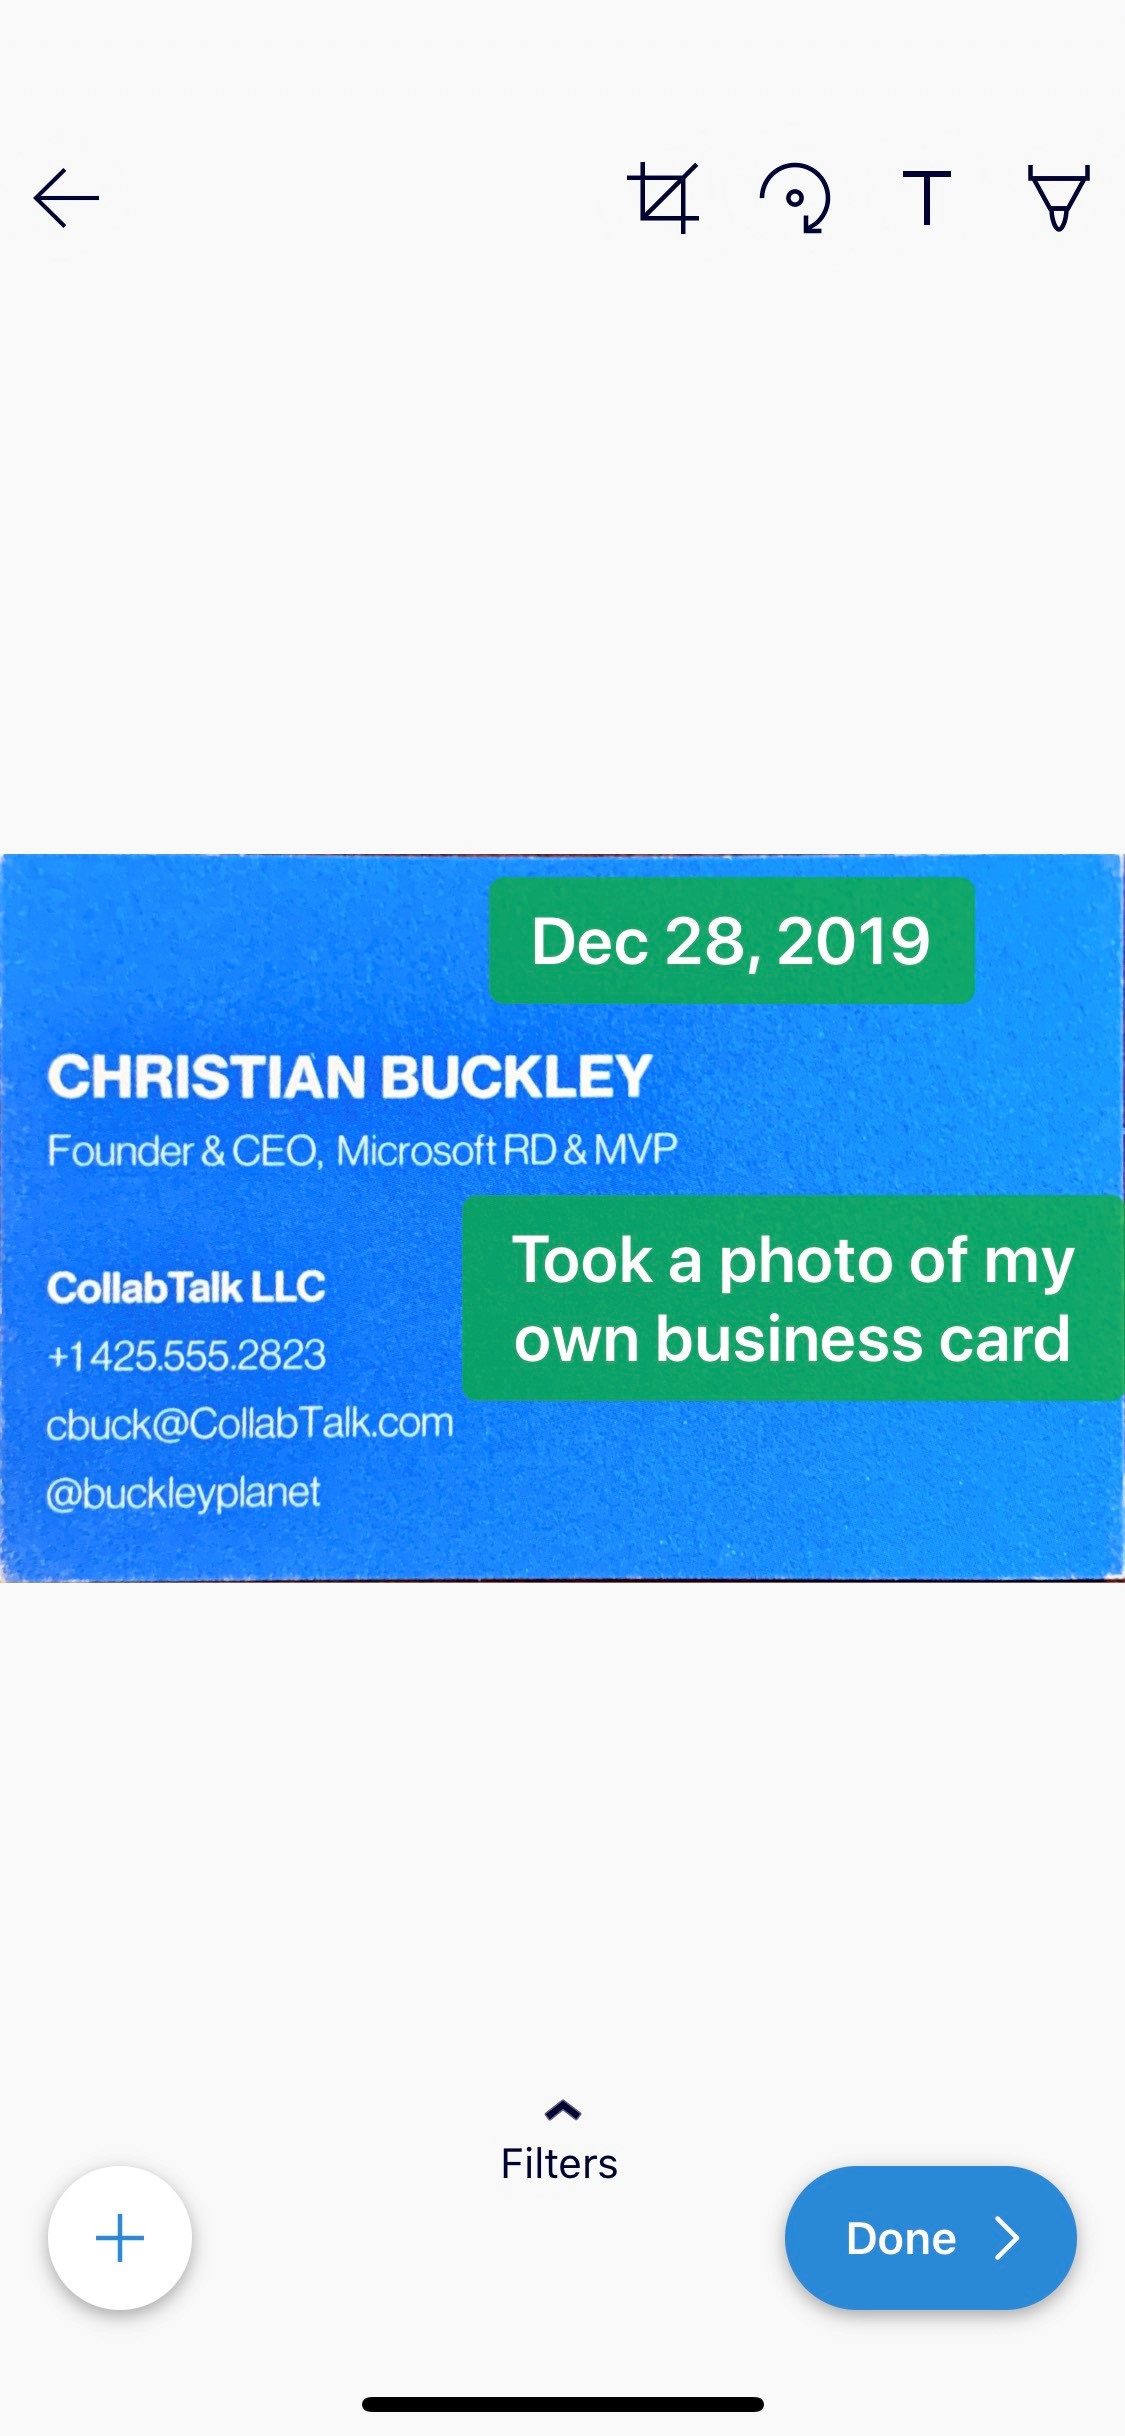
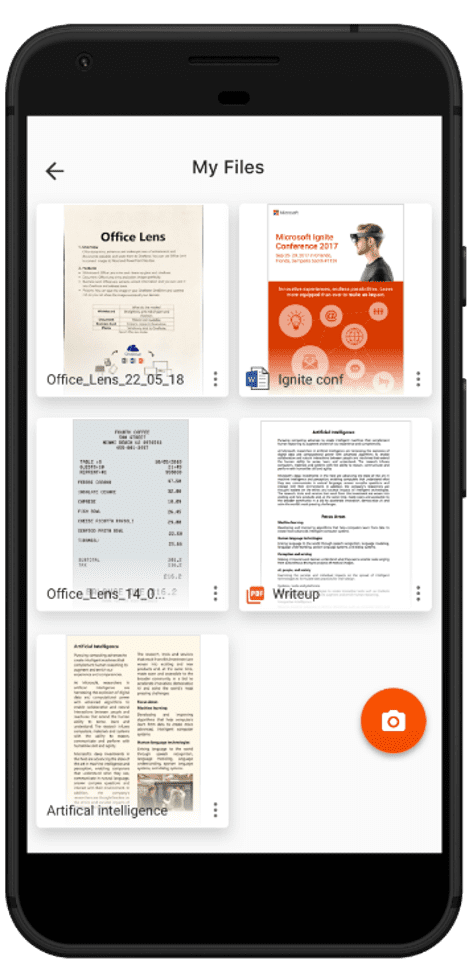
Once annotated, the image might look something like this:
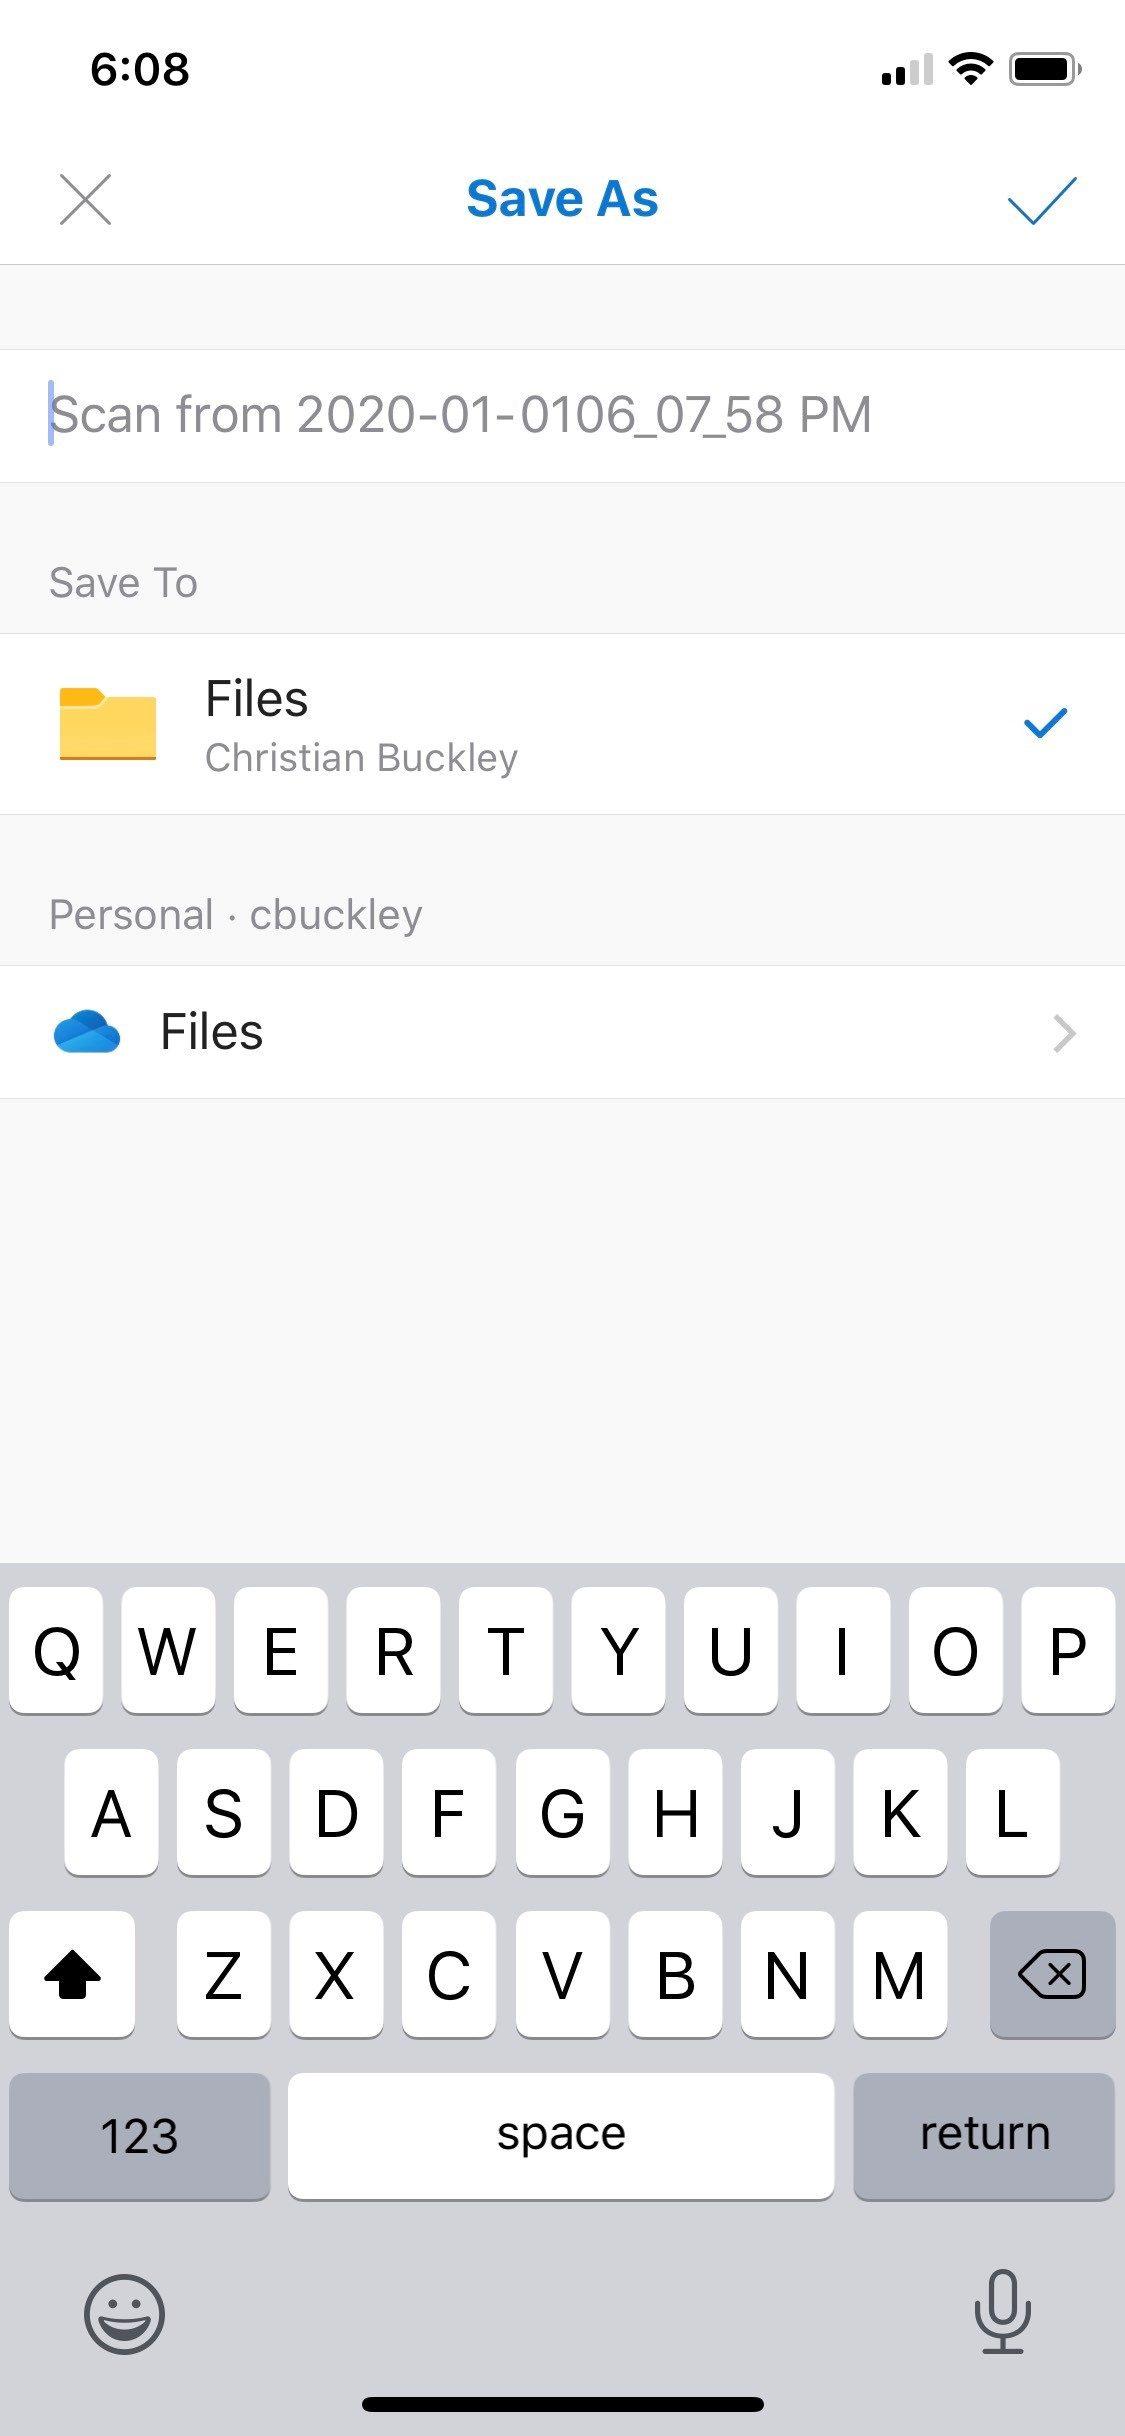
From here, you can save it locally (on your mobile device), or setup your default location/folder. For the OneDrive app, you can connect to and select from your personal and business OneDrive accounts, and set up default locations for each. Within the Office Lens app, you have a wider range of options, such as pushing the content to iCloud, Google Drive, Dropbox, etc. You can also share the file to Facebook, Twitter, LinkedIn and other destinations.
What I especially love about this feature is that the annotations make sorting through and managing my scans much easier.
The Office Lens and OneDrive apps are currently available on both Android and iOS, but no word about support for Windows Phone, Blackberry, Palm OS, or Kin. Speaking of Windows Phone, have you read this fun article on why Windows Mobile failed ? It’s worth a read 😉


1 Response
[…] Text Annotations in Office Lens and OneDrive Apps […]